Proper pre-anodizing preparation requires removing oils, dirt, and handling damage. This guide outlines the cleaning, inspection, and handling steps that ensure a uniform anodized finish and prevent defects in extruded aluminum profiles.
- Pre-anodizing preparation starts with a full inspection to catch mechanical damage before the finish is applied.
- Surface cleaning must remove all oils, coolants, and handling dirt to prevent pinholes and uneven color.
- Proper handling prevents new scratches or dents that are difficult to fix after anodizing.
- A final visual verification step confirms the metal is ready for the bath and reduces batch rework.
Why Pre-Anodizing Preparation Matters
Anodizing is a chemical process that converts the surface of aluminum into a harder, more corrosion-resistant oxide layer. The finish only looks as good as the metal underneath it. If dirt, oil, or handling marks are present when the profile enters the bath, the anodizing process will lock them in. The result is a finish with pinholes, uneven color, or visible blemishes that can fail aesthetic or quality requirements.
Pre-anodizing preparation is the bridge between the extrusion line and the finishing shop. It covers the physical steps taken after the profile leaves the die and before it reaches the anodizing tank. This stage includes removing production residues, handling the material correctly to avoid new damage, and verifying that the surface is clean and ready for electrolytic treatment.
Extrusion lines produce metal that is often coated with a thin film of die release oil or coolant. These substances reduce friction in the die and help the alloy flow, but they are foreign materials to the anodizing electrolyte. When the profile sits in storage, this film can oxidize or attract dust. If the cleaning step is rushed or skipped, the anodizing bath cannot penetrate the metal surface. The oxide layer forms over the contamination instead of bonding directly to the aluminum. This creates a weak interface that may peel or discolor over time.
The cost of poor preparation is rarely visible in the anodizing shop itself. It appears later. A customer receives a panel or frame that looks uneven under shop lighting. A maintenance team finds that a window frame has corroded at the corners where a small grease spot was missed during cleaning. The root cause is not the alloy or the anodizing bath. It is the state of the metal surface when it entered the process.
What Should Be Removed Before the Profile Enters the Bath
The primary goal of surface cleaning is to strip the metal down to a bare, uncontaminated surface. During extrusion, profiles are often coated with oils, coolants, or release agents to protect the metal and reduce die friction. These substances must be removed before anodizing.
If these residues remain, they act as a barrier between the aluminum and the anodizing electrolyte. This can lead to poor adhesion of the oxide layer. In some cases, the trapped material causes localized heating or chemical reactions that create dark spots or pinholes in the final finish.
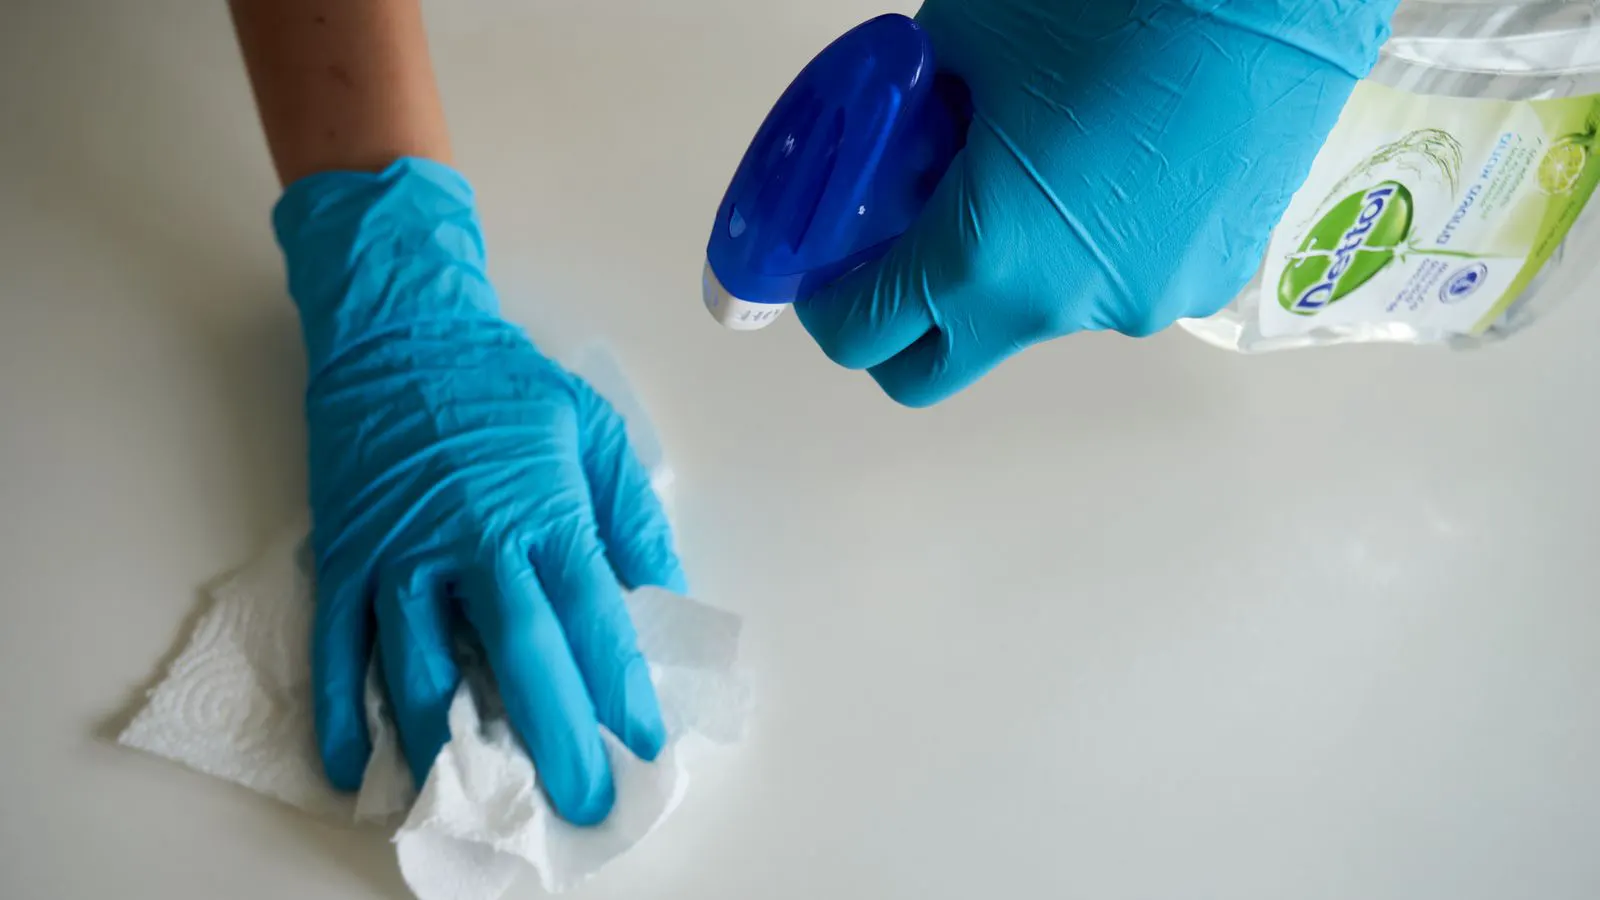
The cleaning process typically involves degreasing and rinsing. Degreasing breaks down the organic contaminants, while rinsing removes the dissolved residue. The water used should be clean and at the correct temperature to ensure the cleaning agents work effectively. After cleaning, the profile should be inspected to confirm that no greasy film remains on the surface.
Different alloys require different cleaning approaches. Soft alloys like 6061 are more forgiving than harder alloys like 7075 or 2024. However, the principle remains the same. The cleaning solution must contact every part of the profile. This includes the internal cavities of complex cross-sections. A profile with deep pockets or narrow channels is difficult to clean by hand. Automated immersion or high-pressure spraying is often necessary to ensure the solution reaches the hidden surfaces.
The temperature of the cleaning bath matters. Cold water reduces the effectiveness of many degreasers. Warm water accelerates the dissolution of oils and coolants. However, the temperature must be controlled. Too hot, and the cleaning solution may degrade. Too cold, and the process becomes inefficient. Consistency is key. If the cleaning temperature fluctuates, the quality of the cleaned surface will vary.
The choice of cleaning agent is also critical. Alkaline solutions are common for removing organic residues. They are effective but can be harsh. Acidic cleaners are used in specific applications to remove oxide films or scale, but they are less common for pre-anodizing preparation because they can damage the metal if not controlled. The selection of the agent should be based on the type of contaminant present and the sensitivity of the alloy.
After degreasing, the rinse water must be clean. If the rinse water is contaminated with previous cleaning solutions or other debris, it can redeposit the very contaminants you just removed. Multiple rinse stages are often necessary. The first rinse removes the bulk of the cleaning agent. A second rinse ensures that no film remains. A final rinse with clean water prepares the surface for the next stage.
How to Inspect Extrusions Before Cleaning
Inspection happens before the profile enters the cleaning cycle. This step allows you to identify and document mechanical damage that cleaning cannot fix. If a profile has a deep scratch, a dent, or a visible extrusion defect, it is better to catch it now than after the finish is applied.
The inspection should cover the entire length of the profile. Check the corners, the flat faces, and the internal cavities. Use a bright light and a clean cloth to highlight surface imperfections. Mark any damaged sections with a tag or a removable label.
This step is critical because anodizing will highlight surface irregularities. A small dent that was invisible on bare metal may become a shadowed area in the colored finish. By identifying these issues early, you can decide whether to accept the part, sort it for secondary use, or return it for rework.
Inspection is not just about finding damage. It is about categorizing it. A shallow scratch on a flat face may be acceptable for an industrial application. The same scratch on a decorative architectural panel may be a critical defect. The intended use of the profile dictates the acceptance criteria.
Look for die defects as well. These include lines, tears, or color variations that occur during extrusion. A line defect runs parallel to the length of the profile and is caused by a problem in the die or the extrusion speed. A tear defect is a small crack or split in the surface. These defects are often visible on bare metal but can be subtle. They become more pronounced after anodizing because the oxide layer expands the surface slightly and changes the light reflection.
Internal defects are harder to detect. A profile may look perfect on the outside but have a void or porosity inside. These defects are not visible to the naked eye. They may only appear after the profile is cut or machined. However, pre-anodizing inspection can catch surface manifestations of internal issues. If the surface shows irregularities, it may indicate a problem deeper in the metal.
Documenting the inspection is essential. Use tags or digital records to track each profile. If a defect is found, note its location, type, and severity. This information is useful for quality control. It helps identify trends in the extrusion process. If a specific die or shift produces more defects, this data can guide corrective actions.
Step-by-Step Pre-Anodizing Preparation Process
Follow these steps to ensure every extrusion is ready for the anodizing process.
-
Sort and Stage the Profiles
Group profiles by size, alloy, and intended finish. Keep them separated to avoid cross-contamination or mixing of different alloys. This prevents handling errors during the cleaning and loading stages.
Sorting is not just about organization. It is about process control. Different alloys have different cleaning requirements. Some alloys may require a longer degreasing cycle than others. Mixing them in the same rack can lead to uneven cleaning. One alloy may be under-cleaned while another is over-cleaned. By sorting, you ensure that each batch receives the correct treatment.Staging also helps with logistics. If the extrusion line produces multiple profiles in a single run, they need to be separated quickly. If they are not, they can block the cleaning area. Proper staging ensures a smooth flow from the extrusion line to the finishing shop.
-
Perform a Visual Inspection
Check each profile for mechanical damage, including scratches, dents, and die defects. Mark any parts that require special handling or sorting. This ensures that damaged parts are addressed before the chemical process begins.
Use a consistent light source for inspection. Ambient light can hide defects. A bright, angled light source highlights surface irregularities. Walk along the length of the profile with the light source. Look for variations in color, texture, or shape.Do not skip the ends of the profiles. The ends are often exposed to handling and can accumulate dirt or damage. They are also the first part of the profile to be seen by the customer. A clean end is a sign of a well-managed process.
-
Apply a Degreasing Solution
Immerse or spray the profiles with a cleaning solution designed to break down oils and coolants. Ensure the solution contacts all surfaces, including the interior of the cavities. This step removes the organic layer that would otherwise block the anodizing bath.
The method of application depends on the profile size and shape. For small profiles, immersion is common. The profile is placed in a tank of cleaning solution. For large profiles, spraying or immersion with agitation is used. The goal is to ensure that the solution reaches every part of the surface.The time the profile stays in the cleaning solution is critical. Too short, and the cleaning is incomplete. Too long, and the solution may degrade or cause other issues. Follow the manufacturer’s recommendations for the cleaning agent. Adjust the time based on the level of contamination.
Monitor the cleaning process. If the solution becomes cloudy, it is saturated with contaminants. It needs to be changed. Using dirty cleaning solution is like using dirty water to wash a dish. It will not clean the surface effectively.
-
Rinse Thoroughly
Rinse the profiles with clean water to remove all cleaning agents and dissolved contaminants. Incomplete rinsing leaves a film of detergent that can cause uneven anodizing. Use a final rinse stage with fresh water to ensure no residue remains.
Rinsing is often overlooked, but it is just as important as degreasing. If the cleaning agent is not removed, it will interfere with the anodizing process. It can create a barrier that prevents the electrolyte from contacting the metal.The rinse water should be clean and at a suitable temperature. Use a dedicated rinse tank for each cleaning batch. Do not reuse rinse water from one batch for the next. Contaminants from the previous batch will carry over.
After rinsing, inspect the surface again. Look for any visible residue. A clean surface should not show any film or streaks. If you see any signs of contamination, repeat the rinse.
-
Handle Profiles with Clean Hands or Gloves
Use clean gloves or clean handling tools to move the profiles. Human skin oils are a major source of contamination. Handling a profile with bare hands after cleaning will re-contaminate the surface and require additional cleaning.
Skin oils are persistent. They do not wash off easily. Once a profile is touched with bare hands, it is compromised. The oils will spread across the surface and attract dust. This is why clean gloves are essential.Use clean tools for handling. A dirty hook or clamp can scratch the surface. A dirty trolley can transfer dust and dirt. Ensure that all handling equipment is clean and dry.
Minimize handling. Every time a profile is moved, there is a risk of contamination or damage. Plan the process to reduce the number of handling steps. Load the profiles directly from the cleaning area to the anodizing racks. Avoid unnecessary transfers.
-
Load Profiles onto Racks Carefully
Place the clean profiles onto anodizing racks. Ensure they do not touch each other or the rack surfaces in a way that causes new scratches. Use protective spacers or soft pads to protect the edges and faces. This prevents mechanical damage during the loading process.
Rack design is crucial. The rack should hold the profile securely without applying excessive pressure. It should allow for even circulation of the anodizing electrolyte. If the rack does not allow for even circulation, the anodizing will be uneven.Use spacers to prevent contact between profiles. If profiles touch, they can scratch each other. These scratches are difficult to see before anodizing but become visible defects in the final finish. Spacers should be made of a soft material that will not scratch the aluminum.
Check the rack for any sharp edges or rough surfaces. These can damage the profiles during loading. A well-maintained rack is a sign of a well-managed process.
-
Conduct a Final Surface Check
Before the racks enter the anodizing line, do a final visual check. Look for any visible dirt, water spots, or handling marks. If the surface is not clean, the profile should be re-cleaned before entering the bath. This final step acts as a quality gate.
The final check is a safety net. It catches any issues that were missed in the previous steps. It is a chance to correct mistakes before they become costly defects.Look for water spots. These can be caused by hard water or dirty rinse water. They will show up in the anodized finish. If you see water spots, re-rinse the profiles with clean water.
Look for handling marks. These can be caused by dirty gloves or tools. They will also show up in the finish. If you see handling marks, re-clean the profiles.
The final check should be quick but thorough. It should not take long. It is a verification step. If it takes too long, the process is not efficient.
Common Mistakes in Extrusion Prep
Skipping the final rinse is a frequent error. Cleaning agents are effective, but they must be removed completely. If they remain, they create a barrier that interferes with the anodic reaction. This often results in a dull or patchy finish that does not meet the specified color or gloss requirements.
Another common mistake is handling profiles with bare hands. Skin oils are persistent and difficult to remove. Once a profile is touched after cleaning, the surface is compromised. Always use clean gloves or automated handling systems to maintain the cleanliness achieved during the cleaning stage.
Loading profiles onto racks without proper spacing is also a problem. If profiles touch, they can scratch each other. These scratches are difficult to see before anodizing but become visible defects in the final finish. Use proper rack design and spacers to prevent contact between profiles.
One more common mistake is using dirty cleaning solution. If the solution becomes saturated with contaminants, it will not clean the surface effectively. It will just spread the dirt around. Change the solution when it becomes dirty. Do not wait until it is completely ineffective.
Inconsistent cleaning time is another issue. If the cleaning time is too short, the surface will not be clean. If it is too long, the solution may degrade. Use a timer to ensure consistency. Do not rely on guesswork.
Verification and Handoff to the Anodizing Line
The final step in pre-anodizing preparation is a formal handoff to the anodizing team. This should include a quick verification that the profiles are clean, properly loaded, and tagged with the correct finish specifications. A simple checklist can confirm that the visual inspection was done, the cleaning cycle was completed, and the handling was correct.
This handoff prevents miscommunication between the extrusion and finishing teams. It also creates a record that the profiles met the quality standards required for anodizing. If a defect is found after the profiles are in the bath, this record helps determine whether the issue came from the extrusion line or the finishing process.
The handoff should be documented. Use a simple form or a digital system to record the batch number, the profile type, the cleaning method, and the time. This record is useful for quality control. It helps identify trends and improve the process.
The handoff should be face-to-face if possible. A quick conversation between the extrusion team and the finishing team can prevent misunderstandings. It is a chance to ask questions and clarify any issues.
If there are any issues with the profiles, communicate them immediately. Do not wait. If a profile is not clean, do not send it to the anodizing line. Re-clean it. If a profile is damaged, sort it for rework. The goal is to ensure that only quality profiles enter the anodizing process.
Reference Table for Pre-Anodizing Preparation
| Preparation Stage | Key Action | Reason for Action |
|---|---|---|
| Inspection | Visual check for mechanical damage | Identifies defects before finishing |
| Degreasing | Apply cleaning solution | Removes oils and coolants |
| Rinsing | Wash with clean water | Removes cleaning agents |
| Handling | Use gloves and tools | Prevents skin oil contamination |
| Loading | Place on racks with spacers | Prevents new scratches |
| Verification | Final visual check | Confirms surface cleanliness |
Conclusion
Pre-anodizing preparation is a controlled process that protects the quality of the final finish. It requires attention to detail in cleaning, handling, and inspection. By following these steps, you reduce the risk of defects, minimize rework, and ensure that the anodizing process produces a uniform and durable finish on every extrusion.
Frequently asked questions
Why is it necessary to remove oils before anodizing?
Oils block the aluminum surface from the electrolyte, which prevents the formation of a uniform oxide layer. This leads to pinholes, uneven color, and poor adhesion of the finish.
Can profiles be handled with bare hands after cleaning?
No, skin oils will contaminate the surface immediately. Always use clean gloves or handling tools to maintain the cleanliness achieved during the cleaning stage.
What is the most common cause of pinholes in anodized extrusions?
Trapped dirt, oil, or cleaning residue in the anodizing bath is the most common cause. These contaminants create localized chemical reactions that result in pinholes.
How should profiles be loaded onto anodizing racks?
Profiles should be loaded with proper spacing and spacers to prevent them from touching. This avoids new scratches and dents that would be visible in the final finish.
Is a final visual check necessary before entering the anodizing line?
Yes, a final check confirms that the surface is clean and free of handling marks. This step acts as a quality gate and helps identify issues before they become permanent defects.